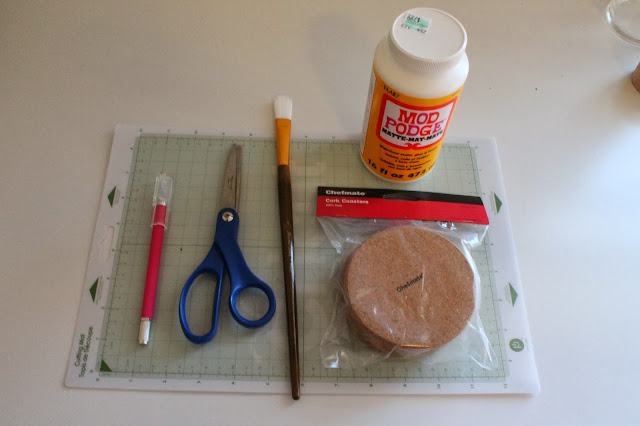
The Supplies:
cork coasters
matte Mod Podge
brush
scissors
paper designs
I combined Emily's version and Bri's version and came up with my own DIY.
Step 1
I made the design in Photoshop and printed them on regular printing paper. Bri printed her designs on photo paper, but since I didn't have any on hand I just used printing paper and it worked great.
Step 2
After you print your designs and cut them out, it's time to adhere them to the coasters. Start by applying a thin layer of Mod Podge to the coaster. Then add the circle design and make sure it's lined up evenly. Gently press down so it's secure and all bubbles are removed. Let dry.
Step 3
After it dries, apply another thin layer of Mod Podge on top of the design. Make sure the entire surface is covered. Let dry. Apply 1-2 more coats of Mod Podge, always letting them completely dry. I did a total of 3 coats on each coaster.
Bri also added felt to the bottom of each coaster, but my cork coasters already had a built in bottom so I didn't see the need for felt.
I love the way these turned out! The best part is you can customize them any way you'd like. I got a few of my would you rather questions from Emily and I looked up the rest. The Comic Sans or Papyrus is hilarious and absolutely perfect for my brother-in-law who is a graphic designer!
These are one of my favorite DIYs I have done yet, and seriously they are so simple. The longest part was waiting for the Mod Podge to try in between coats!


Ha, this is such a cute idea! Would make sitting around with friends pretty interesting :)) Thanks for the idea!
ReplyDeleteCasey
ImperfectWonder.com
I'm glad you like it! They will certainly make parties fun :) Loved your New Year's outfit!
Delete