
 |
| More Mojitos Please art |

Today I'm sharing an inexpensive DIY project with a big impact that I recently finished. Starburst mirrors are great but can be rather expensive. I wanted something to hang above my bar cart and decided a starburst mirror it was. The inspiration behind this came from the crafty ladies at A Beautiful Mess. You can see their version of a starburst mirror here. They actually spray painted theirs gold, but I wanted something a little more natural looking so I kept the wood look.
The supplies:
A round mirror - Hobby Lobby, $8
Paint sticks - your local hardware store, I got mine at Menard's for free. They usually hand them out when you buy paint but I just asked for them.
Hot glue gun
A piece of wood about 1 inch thick to mount on the back of the mirror
Total Cost
$8 (everything else I had on hand)
Step 1:
You want to mount something on the back of the wood so the mirror will lay flush against the wall after you start gluing the sticks on the back. It also makes hanging the mirror much easier if there is a place to drill a hole. I just glued a scrap piece of wood that's about an inch thick on the back of my mirror with some wood glue. Make sure to allow for the full drying time so it's secure.
Step 2:
Stain your paint sticks. I used a stain we already had on hand and just wiped each blank side of the stick with a cloth that was dipped in the stain. I only did one coat because I wanted a light color.
 |
| The paint sticks pre-stain. Stain only the blank side, not the side with print, because that's the only side that will be showing from the front. |

Step 3:
Cut your paint sticks. Because I only got 25 paint sticks from Menard's I needed to cut each stick in half so I had enough to go around the mirror. My dad cut them for me with a saw so I had a nice even line rather than breaking them, that way I could use the opposite end of the handle.
Step 4:
Arrange your sticks around the mirror. Before I glued each stick down to the backside of the mirror, I arranged them so I had an idea of placement. I started with the longer sticks and placed them evenly around the mirror leaving about 1 inch-1.5 inch gap between each. Then I filled in the gaps with the shorter sticks making sure to overlap the longer stick a little bit. I ended up having just enough sticks to go around once with the long sticks and once with the short sticks with just a few remaining to fill in where there were some bigger gaps.
 |
| The sticks with the narrow handles (you can see in the picture above) I call the shorter ones. Since I didn't want the narrow handle to show I made sure they were far enough on the back of the mirror. It will make sense once you're arranging them. |
 |
| The long sticks arranged without gluing. |
 |
| The short sticks arranged without gluing. |
Step 5:
Once you get an arrangement you like, it's time to start gluing. Pick up the mirror but leave all of the sticks in their arranged places. I used a hot glue gun because it sets quickly. Now start gluing in the same order you arranged the sticks. Start with one long stick and glue it to the backside of the mirror, about an inch up. Glue all of the long sticks on and go on to the short ones.

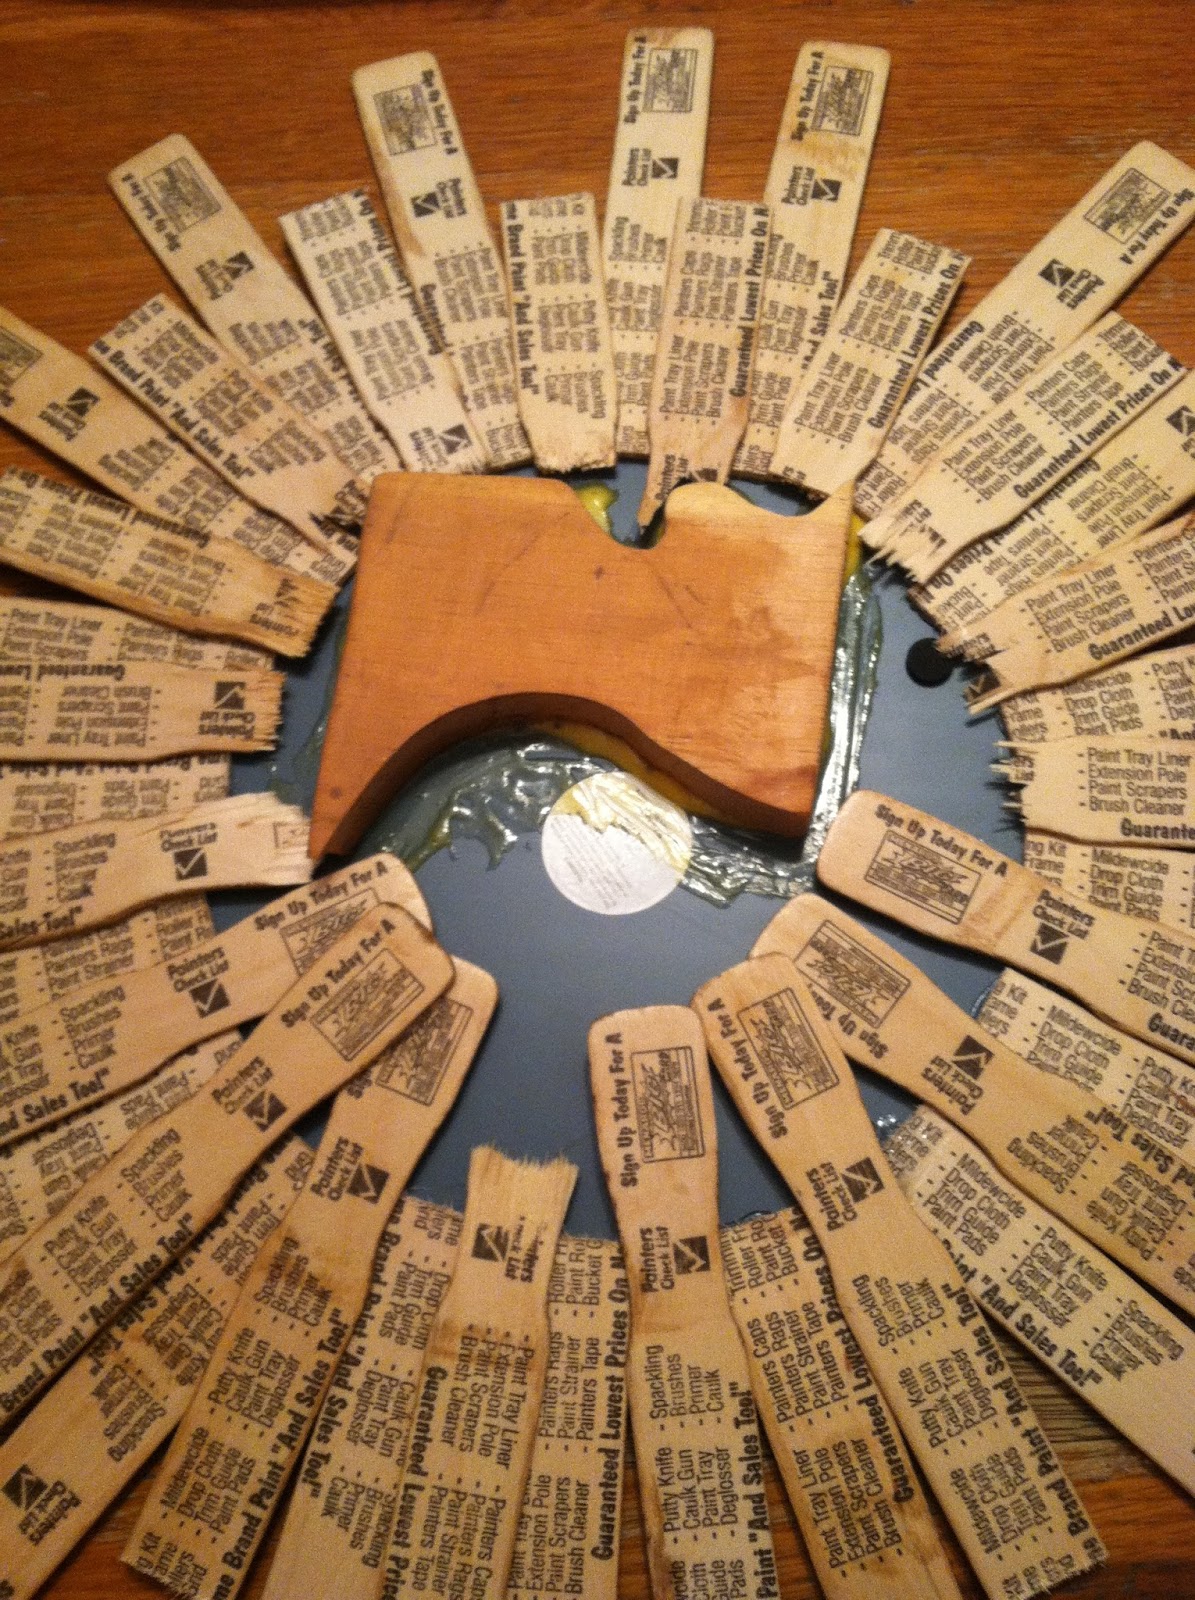 |
| It will look a little messy but you won't see it from the front. |
Step 6:
After the glue has cooled and set, you can pick up the mirror by the piece of wood you mounted on the back of the mirror. Be very careful not to touch any of the paint sticks or they will easily get knocked off. While transporting my mirror in my car a few sticks actually got knocked off so I had to re-glue them.

I'm very pleased with the results! Gluing them on looks like a process but it actually went pretty smoothly. Don't worry too much about arrangement, just make sure you are gluing them the same height around the mirror otherwise when you flip the mirror over it won't be in the "center".
Let me know what you think! Share any tips or comments below.
what a fabulous diy! it looks great!
ReplyDeletexx
Thank you!! Such a cute little blog you have. Great sayings :)
Delete